Table of Contents
Are you sick of store-bought paneer but yearn for something fresh and soft? You’re in the proper location! Not only is it quite easy to create paneer at home, but it’s also really satisfying. You can make wonderful, creamy paneer with simple ingredients from your home in a matter of minutes. Making your own paneer will add a new dimension of flavour and freshness to your food, whether you’re cooking hearty curries, delicious salads, or grilled munchies.
When you can have complete control over the texture, flavour, and milk used to make your paneer, why choose processed options? It’s also far healthier and more affordable. Stay tuned for our comprehensive tutorial, practical advice, and expert ideas on how to cook paneer simply at home. Let’s get going and discover the key to creating the ideal, tender paneer!
Homemade paneer provides a number of benefits.
Freshness: Paneer from scratch tastes more flavourful than that from the store. –
Quality Control: Select the milk and make sure it’s additive-free. Cost-Effective: Over time, homemade paneer may prove to be more cost-effective.

Why Make Paneer at Home?
Ingredients Needed for Paneer
You will need the following items to make paneer at home:
- One litre of full-fat milk: For a creamier texture, cow’s or buffalo milk work well. –
Two to three tablespoons lemon juice or vinegar: This will help the milk curdle. –
Optional pinch of salt: Added for flavour.
Step-by-Step Recipe: How to Make Paneer at Home
Step 1: Boil the Milk
- Pour the Milk into a Pot: Start by putting 1 liter of full-fat milk into a heavy-bottomed pot to prevent scorching.
- Heat the Milk : Bring the milk to a boil by placing the kettle over medium heat. To make sure it doesn’t settle in the bottom, stir from time to time.
Step 2: Curdle the Milk
- Add the Acid : Lower the heat to low as soon as the milk begins to boil. Stir slowly and gradually add 2 to 3 teaspoons of vinegar or lemon juice.
- Keep an eye out for curdling:
The whey, or liquid, will start to separate from the curds, or solids, as the milk starts to curdle. A bit additional vinegar or lemon juice should be used if the milk doesn’t curdle entirely.
Step 3: Strain the Curds
- Set Up a Muslin Cloth: Cover a colander with a fresh muslin cloth or cheesecloth.
- Curdled Milk Pour: Gently transfer the curdled milk into the cloth. The curds in the fabric will remain after the whey drains away. 3. Rinse the Curds: To get rid of any sour flavour left by the vinegar or lemon juice, rinse the curds under cold water.
Step 4: Squeeze Out Excess Water
- Collect the Cloth: Gather the cloth’s corners and twist them together to create a pouch.
- Squeeze Gently: Gently squeeze the paneer to get rid of extra water. Since you want the paneer to stay soft, take care not to press down too much.
Step 5: Press the Paneer
- Form the Paneer : Lay the bag down flat and form it into a block shape.
- Add Weight : Cover the covered paneer with a heavy item (such as a pot filled with water) and leave it there for approximately half an hour. It will set and get firmer as a result.
Step 6: Cut and Store
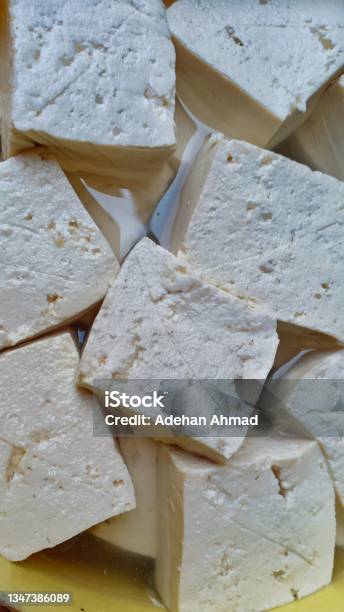
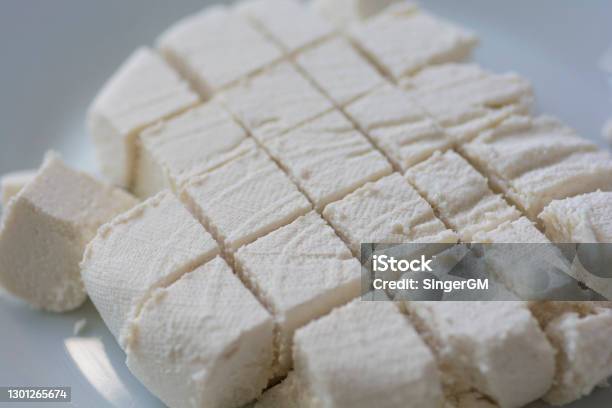
- Unwrap the Paneer: Remove the paneer’s wrapping after 30 minutes. Your paneer block will be firm and smooth.
- Cut into Pieces: To fit your recipes, cut the paneer into cubes or any other form you like.
- Store Correctly: Put your homemade paneer in the fridge in an airtight container. It may linger for a week or longer.
Tips for Perfect Paneer
- Use Fresh Milk: For optimal outcomes, consistently utilise fresh, premium milk.
- Temperature Control: To effectively curdle the milk, make sure it is boiling before adding the acid.
- Fully Rinse: Rinsing the curds aids in removing any last traces of acidity.
- Try Different Flavours: To make flavoured paneer, you can incorporate herbs or spices into the milk prior to it curdling.
- Use Paneer Right Away: Use your handmade paneer as soon as possible for the greatest flavour and texture.

Frequently Asked Questions (FAQs)
1. What is the shelf life of handmade paneer?
When kept in an airtight container, homemade paneer can be kept in the refrigerator for roughly five to seven days.
- Is it possible to freeze homemade paneer? It is possible to freeze paneer. It should be firmly wrapped in foil or plastic wrap and kept in an airtight container. Store it in the freezer for up to three months.
3. What can I create with paneer?
Paneer has such versatility! It works well in salads, curries, snacks, and desserts. Paneer Tikka, Palak Paneer, and Paneer Butter Masala are some of the well-liked recipes.
4. Is paneer from scratch healthier than paneer from the store?
Yes, since you can choose the ingredients and omit the additives and preservatives found in some store-bought varieties, handmade paneer is frequently healthier.
5. Can I use skim or low-fat milk to create paneer?
Even though you can make paneer with lower-fat milk, it won’t have the same rich flavour and texture as paneer produced with full-fat milk. Use full-fat milk for optimal results.
Conclusion
.It is surprisingly simple to make paneer at home, and it gives you complete control over the quality and freshness of this adaptable food. We went over a detailed recipe for paneer in this post, which included heating the milk, curdling it with vinegar or lemon juice, and then pressing it into a solid block. We also offered essential advice like using full-fat milk for the best results and rinsing the curds to remove any sourness.
You can have fresh paneer ready for a variety of Indian cuisines, including salads, curries, and snacks, with just a few easy steps. Additionally, homemade paneer is less expensive and healthier than varieties from the supermarket. With these newfound skills, you can easily prepare tender, delectable paneer for your family’s dinners.
Call to Action
Are you ready to attempt making paneer at home? Enjoy fresh paneer in your favourite dishes by following the instructions in this recipe! Remember to leave a comment below with your experience, and for additional dish ideas, see our other paneer recipes.
